Tags
alternative model, Ben Nye, Cosmetics, false eyelashes, fluidline, Gesso, MAC, MAC cosmetics, Make-up Art Cosmetics, Makeup Forever, makeup tutorial, modelling, New York, paint pot, Raquel Reed, Stila, Tutorial, Urban Decay, yogurt, zoom lash
I have decided to do a blog tutorial on Raquel Reed’s makeup look in one of her photo shoots. She is an extremely cool looking alternative model and make-up artist from New York. She’s known for her awesome candy blue hair! This is the photo I have done the tutorial on.
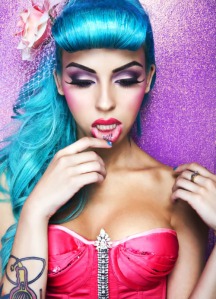 More info can be found about her at www.ihateraquelreed.com
On to the tutorial!!
My face:
Stila one step correct– this is a really good primer/corrector and brightener all in one for your skin.
Makeup Forever HD Foundation and Super matte loose powder. *Note these are the only products I put on the actual face as this is a tutorial on the eye makeup only.
On to the eyes!
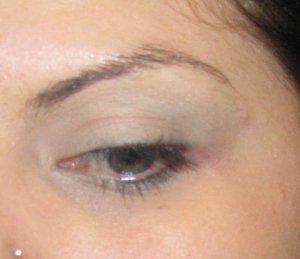
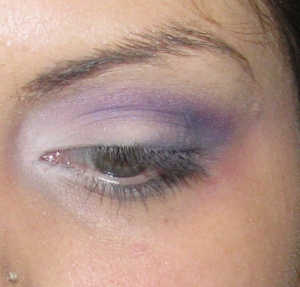
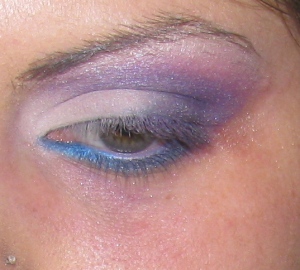
With my finger I put some of my Urban Decay primer potion all over the lid. Then I worked in Soft Ochre by MAC, which is a pigmented cream shadow and picks up powder shadow colour much more vibrantly.
Run that over the whole lid and almost up to the brow (this is the base, and I just used my finger), and also a little underneath.
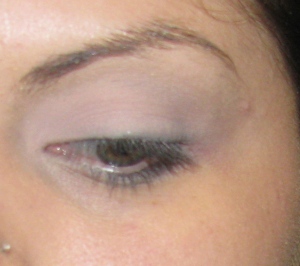
Next I used a shadow brush to run Yogurt by MAC all over the lid on top of the soft ochre. Gradually work it in, in layers to achieve a brighter finish.
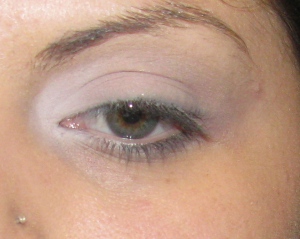
Then I used Gesso by MAC in the inner corner to achieve the desired whitish highlight she has. Run it in the inner corner, slightly above and run whatever is left on the brush through the lid.
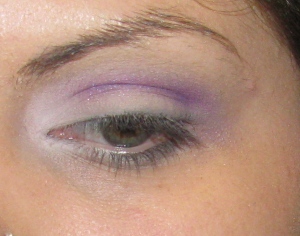
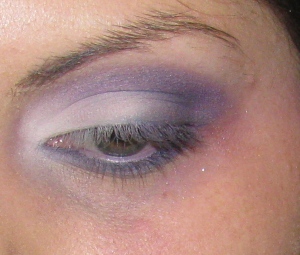
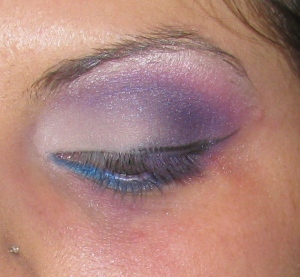
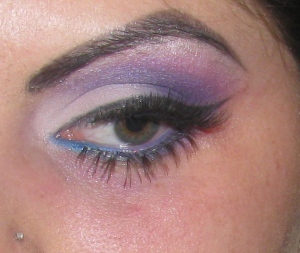
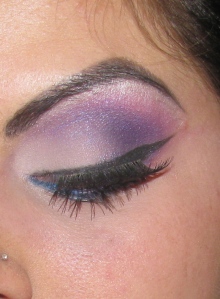
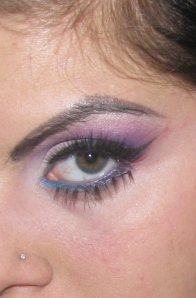
The base is complete! Now run a deep purple through the brow bone. I used a mixture of colours as the colour I chose turned out too blue on camera. I mixed Amethyst by Ben Nye with Poison Pen by MAC. I slowly started to blend in the colours with a MAC 217 brush. It takes time to build up the darkness so take your time and slowly build softly through the brow bone, and making a “V” shape in the outer corner of the eye. Also run some of the shadow under the eye as well.
The flash of my camera brightens this too much, but it definitely looks darker than this! Oops 🙂
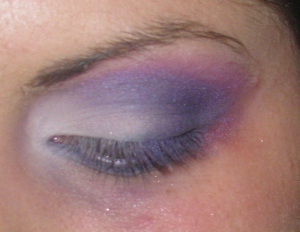
Next is the pink colour she has above the purple. I used Cosmic Violet by Ben Nye and ran it lightly just above the purple and blended the two together.
On top of that I used Ice by Ben Nye as the highlight underneath the eyebrow.
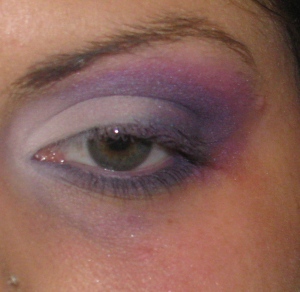
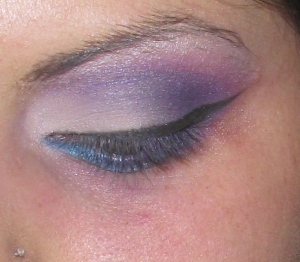
Now, from what I can sort of tell on the photo of Raquel, it seems she has some blue either under the eye or in her waterline. So I lined underneath my eye with a MAC softsparkle pencil in Reflecto, and ran some Ben Nye Cosmic Blue shadow on top of that.
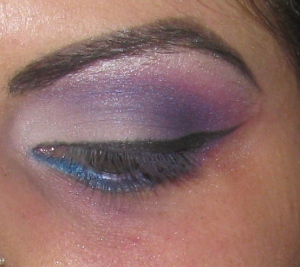
Ok, almost there!! Next is the eyeliner. I used my MAC blacktrack gel liner with an angle brush to achieve her winged liner. Basically, I start from the outer corner of the eye, and draw my “wing” first just to plot it out and then complete it in the other direction towards the lid. Make sure to work with it quickly as its very easy to move around and correct before it dries.
I used my angle brush with whatever gel liner was left on it to create the eyebrow. Just gently draw out the brow shape over top of your own to match raquel’s shape.
Of course it won’t be 100% identical, as everyone’s eyebrows differ in shapes, but its easy to get it pretty close. Finish off with a coat of mascara on both top and bottom lashes with a black mascara of your choice. As always, I use my Zoom fast black lash by MAC (How I love thee :)). I used false lashes on the top and bottom. She is definitely wearing false ones on top, I’m not 100% sure about the bottom ones, but it looks nice and instantly gives the illusion of thick dark lashes (and who doesn’t want that, right? ;)).
Pop some concealer underneath the eye to brighten and correct, and there you have it, the eyes are complete!! Further into her look, place a pinky blush on the cheeks, and contour. For the lips, a red lipstick of choice and a gloss on top.
Thanks for reading!
-FnKyLuDa-
xoxo
Related articles
- Taylor Momsen inspired make-up look (fnkyluda.wordpress.com)
- Getting Beautified (weddingbee.com)
- Just Me and my MAC! (collegegirl93.wordpress.com)
- POLL – Would you/did you do your own makeup for your wedding? (glimmerandshimmer.wordpress.com)
- Pixiwoo video: Five simple steps to… getting gorgeous glittery eyes (mirror.co.uk)
- Brighter and Bigger Eyes (thathazeleyes.wordpress.com)
- A step-by-step guide to Kate’s royal makeup (sfgate.com)
- Ben Nye Cosmetics (hair-refuge.com)
- Mini Stila haul and swatches!!! (noiretropicalbeauty.wordpress.com)
- Top 5 Eyeshadow Palletes Under $40 (trendfriend3.wordpress.com)
- I want to start my own makeup tutorial on Youtube and i want to know how to find out how to know if the name BudgetMakeup is taken or not and want to know how to get started with a channel. (wiki.answers.com)
- Virtual Beauty Tutorials – Nars Launches New Site Featuring Virtual How-To Makeover Tutorials (TrendHunter.com) (trendhunter.com)
- My Top 10 Eyeshadows (hudabeauty.com)

